If your camera has microfocus adjustment available make a note of the original settings before you embark on this process - you may need to return to these if you have problems.
Often there are two adjustments available, global (all lenses) or a per-lens correction. Global allows settings to compensate for the camera body only and per-lens is for lens to lens variation (in the second case the camera usually keeps a record of the lenses you have used and knows when you have placed one on the camera so it can recall the correction you have entered for that particular lens.
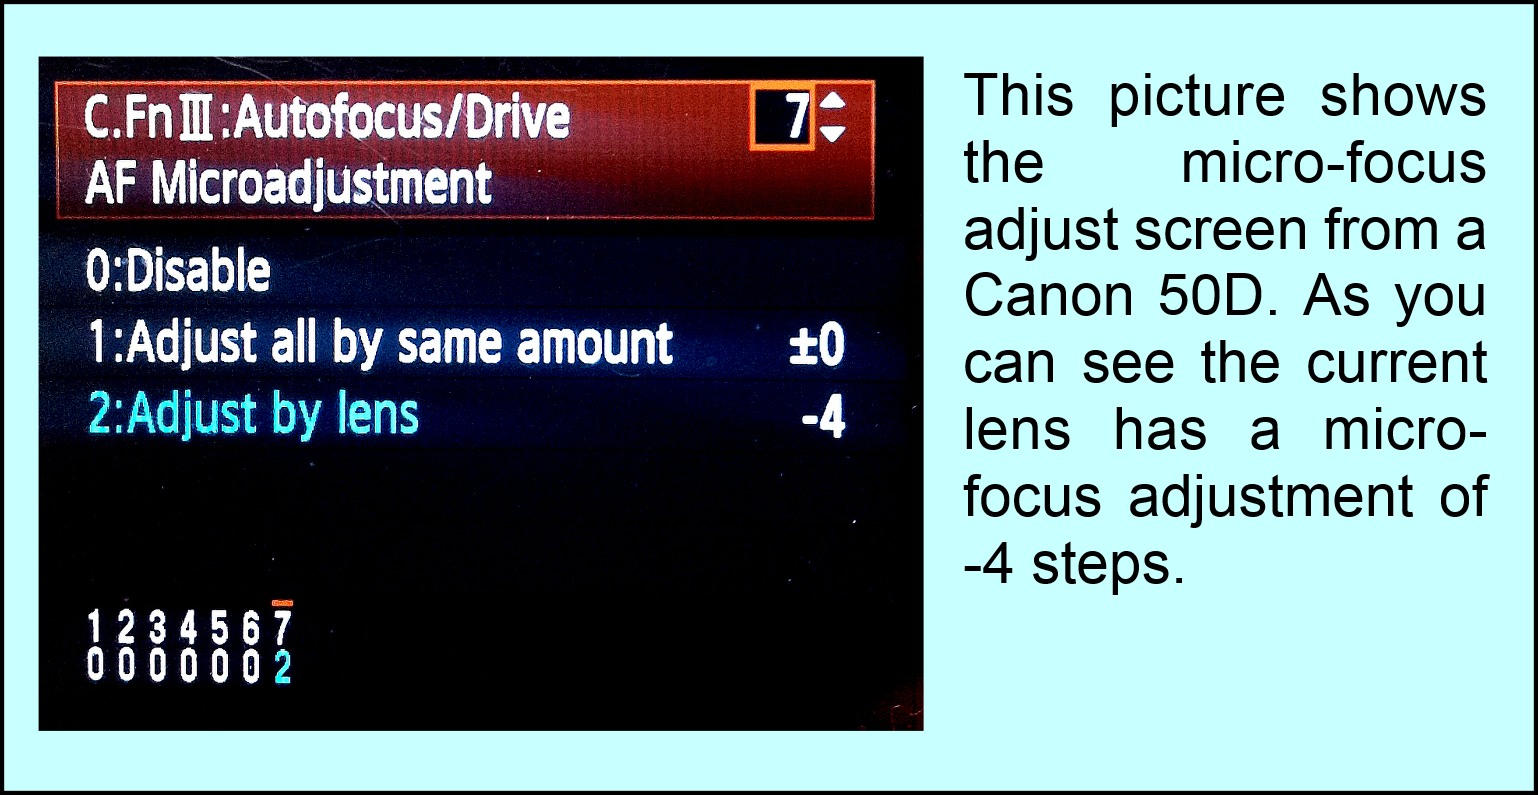
Micro focus is not just a case of set and forget however, the temperature of the lens and body changes their sizes and the refractive index of the air inside and thus changes the focal point; hence the micro-focus adjustment will change with temperature. The easiest method is to focus on a running computer flat screen at a distance of ten times the focal length of the lens. The camera must be pointing at the centre of the screen and the plane of the screen exactly at right angles to the line connecting the camera to the screen , the lens being wide open. correct focus is obtained when wide moire fringes are seen on the camera sensor. Thus we move the focus of the lens off manually then trigger the auto focus. The micro-focus is adjusted until the auto focus provides the same moire fringes. This method is extremely sensitive and requires the micro-adjustment to be very close before you start.
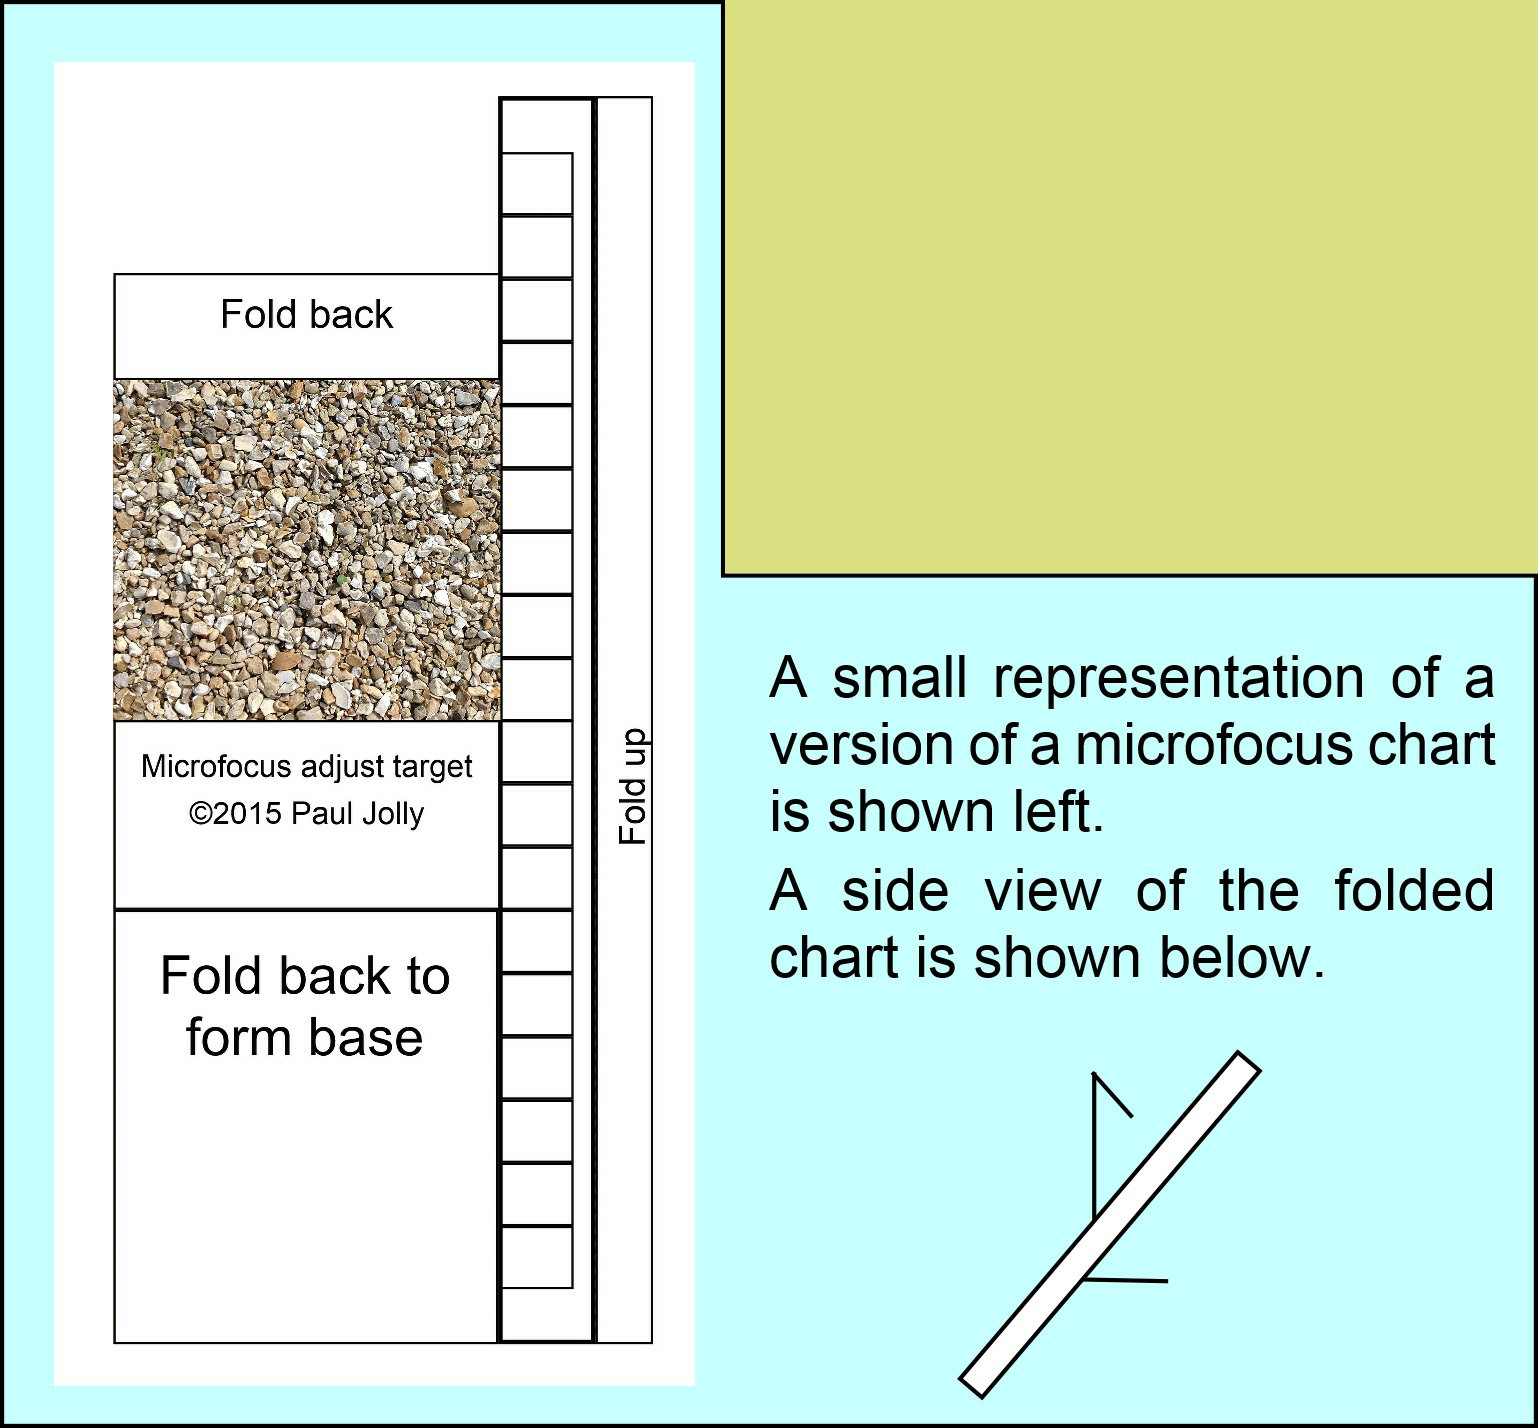
A course method is to have a patterned perpendicular plane in front of the camera in half of the view and a rule at about 10 degrees to the line joining the camera to the plane. The distance from the camera to the plane needs to be ten times the focal length of the lens for meaningful results.
Auto focus on the plane with the lens fully open, and take a photograph; now look at the rule to find the position of best focus.
Best focus should be at the plane but if the best focus is somewhere else on the rule you can adjust the micro-focus until it is correct; manually defocus between corrections.
Change to the moire fringe version for precise results.
With both methods you MUST use a good tripod for holding the camera and a solid fixed position for the plane / rule or monitor. Always use a remote trigger, these methods are very sensitive, even small positional movements can cause you to either re-start over again, or worse, never find the correct setting.
If you want the best results then you will need to re-calibrate the microfocus settings with different temperatures, making a table of results will allow you to set up your camera on location.
Not quite done yet: the foregoing is great for prime lenses but zoom lenses are rarely the same over the zoom range, this will also require the use of a table (I recommend as a minimum, microfocus settings are recorded at the extremes of the focal lengths and one quarter of the difference from the minimum focal length). [For an 18 mm to 210 mm lens choose 18 mm, 66 mm and 210 mm].

(C)2024 P.Jolly. Page last updated 20240713